Support Center

Support / Installation / Moving a Sound Yeti product to another location on your computer or external drive.

Moving a Sound Yeti product to another location on your computer or external drive.

Note: This feature is available on Mac OS X 10.10 (and higher) and Windows 7 (and higher). If you are using Mac OS X 10.9 (or lower), please refer to this article instead.

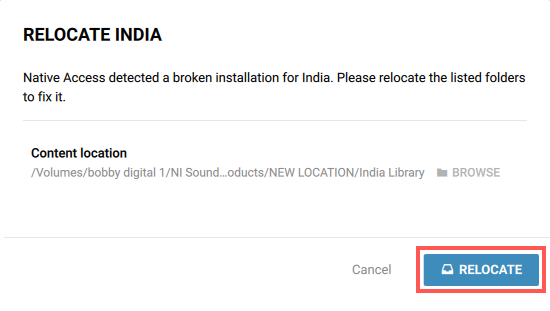
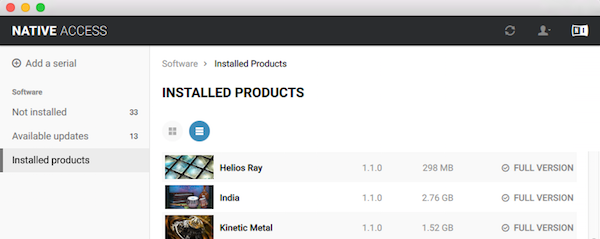
This article explains how to move a Sound Yeti product to another location on your computer. Please note:


  1. Move your SY product to its new location.
  2. Launch Native Access.
  3. Go to the Installed products tab. The product you moved is marked with a yellow REPAIR label.
    Installed_Products_India_Repair.png
  4. Click on REPAIR and select RELOCATE in the drop-down menu.
    Click_on_Repair_and_choose_Relocate.png
  5. In the Relocate window Native Access lists the old location of your SY product and notifies you it is invalid. Click BROWSE next to the product you have moved.
    Relocate_window_click_Browse.png
  6. Browse to your product’s new location, select its folder and click Open.
    Browse_to_new_location_and_click_Open.png
  7. The Relocate window now lists your product’s new location path. Click the RELOCATE button.
    Relocate_window_lists_New_Location_click_Relocate.png
  8. Your installation is now repaired. Your SY product appears as correctly installed in Native Access.
    India_repared.png

Can’t Find What You Are Looking For?
Get In Touch with us