The process of setting up your instrument can easily be accomplished by following the guide provided below.
There are 2 main points to getting started with your instrument:
The process for setting up a new Kontakt Instrument is quite simple and can be accomplished by using Native Instrument’s Native Access. If you have purchased AMBITION, COLLISION FX, or METHOD1 you can get started by following these five simple steps listed below. Alright, let’s do this!
**NOTE** We recommend updating to the latest version of KONTAKT / KONTAKT Player from within Native Access before activating any products.
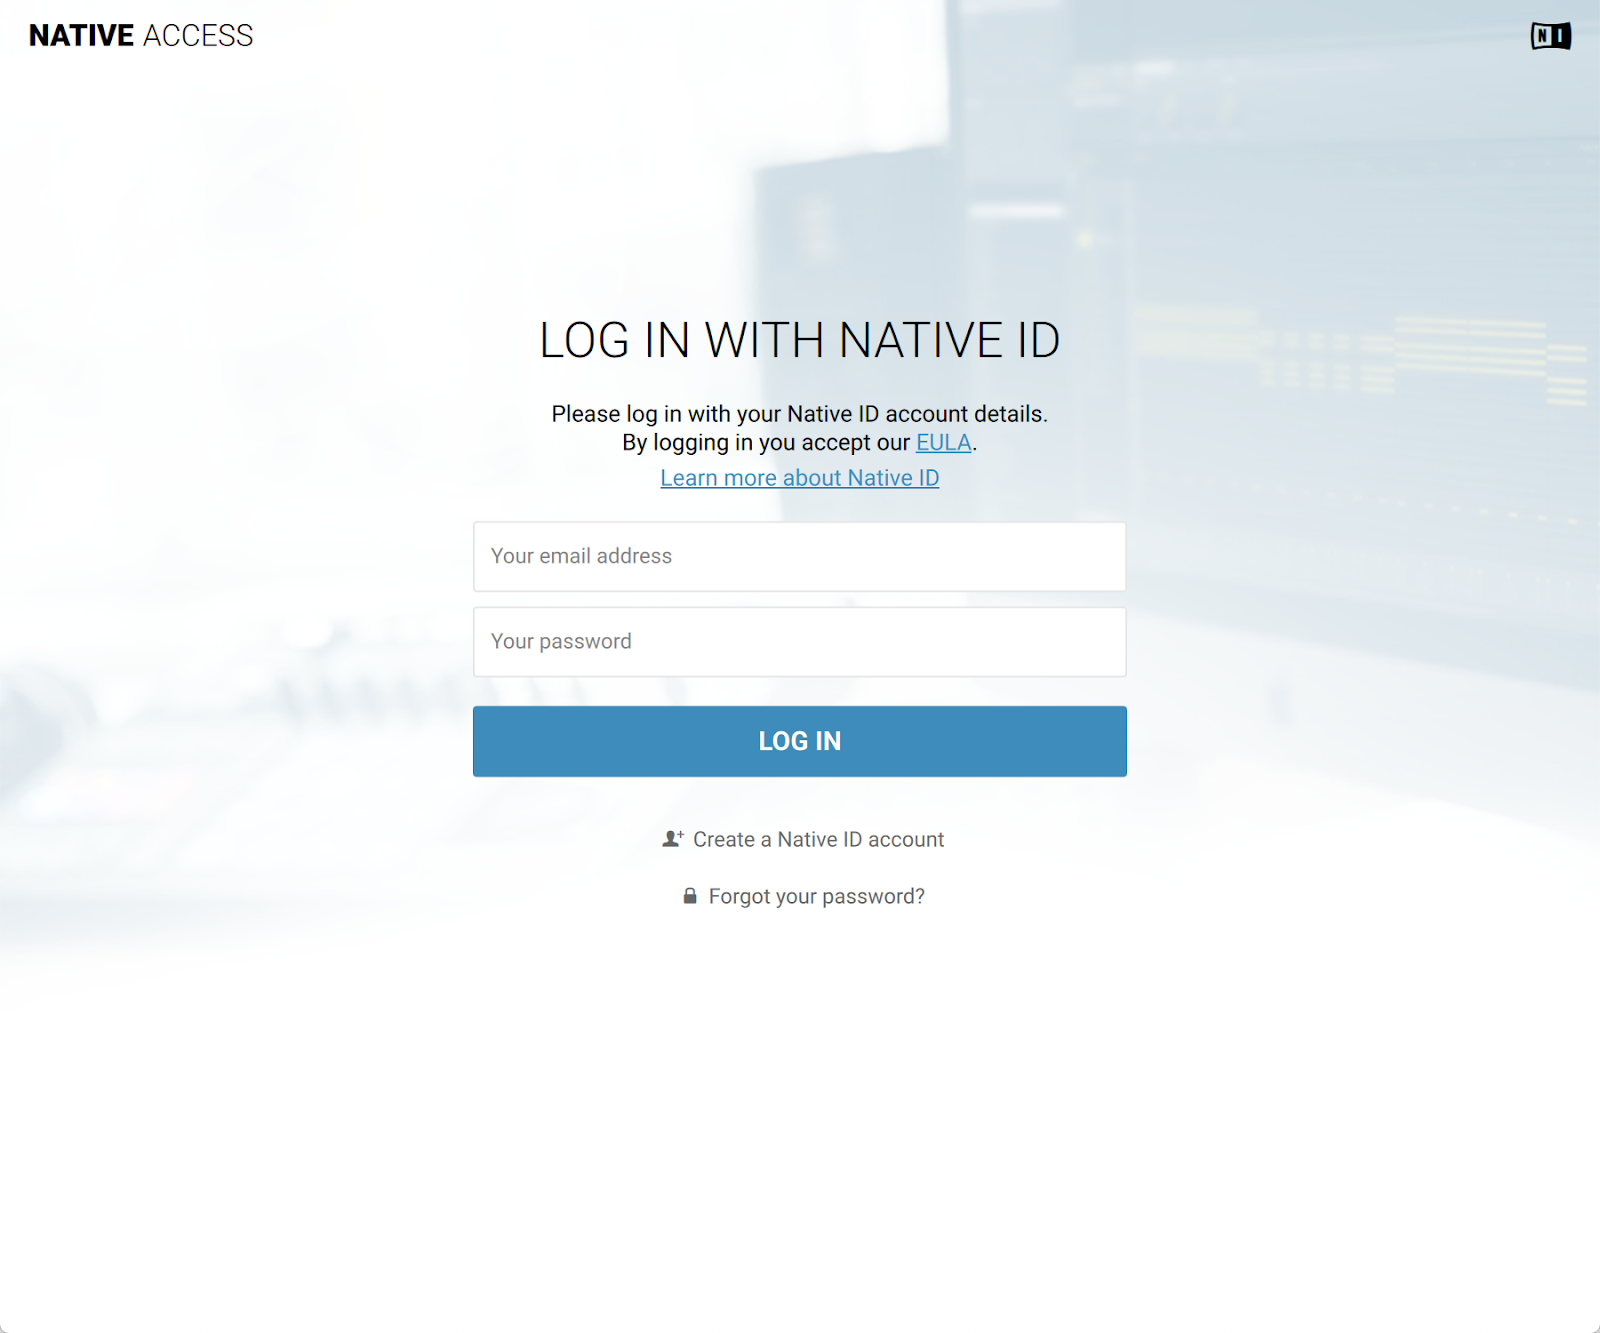
First, start by downloading Native Access by Native Instruments. You will also need to create a Native ID Account so go ahead and do that now as well.
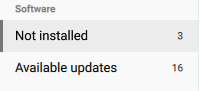
Now, log into Native Access and navigate to the ‘Not Installed’ section. Here you will find the free Kontakt 6 player. Click on install unless you already have Kontakt in which you may skip this step and move on to the next.

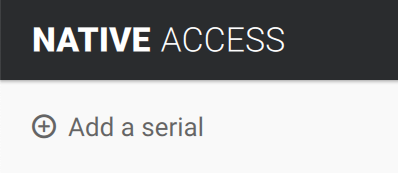
In the upper left-hand corner of your screen locate/click on ‘Add a serial‘.
After this, a new screen will appear prompting you to input your software’s serial code.
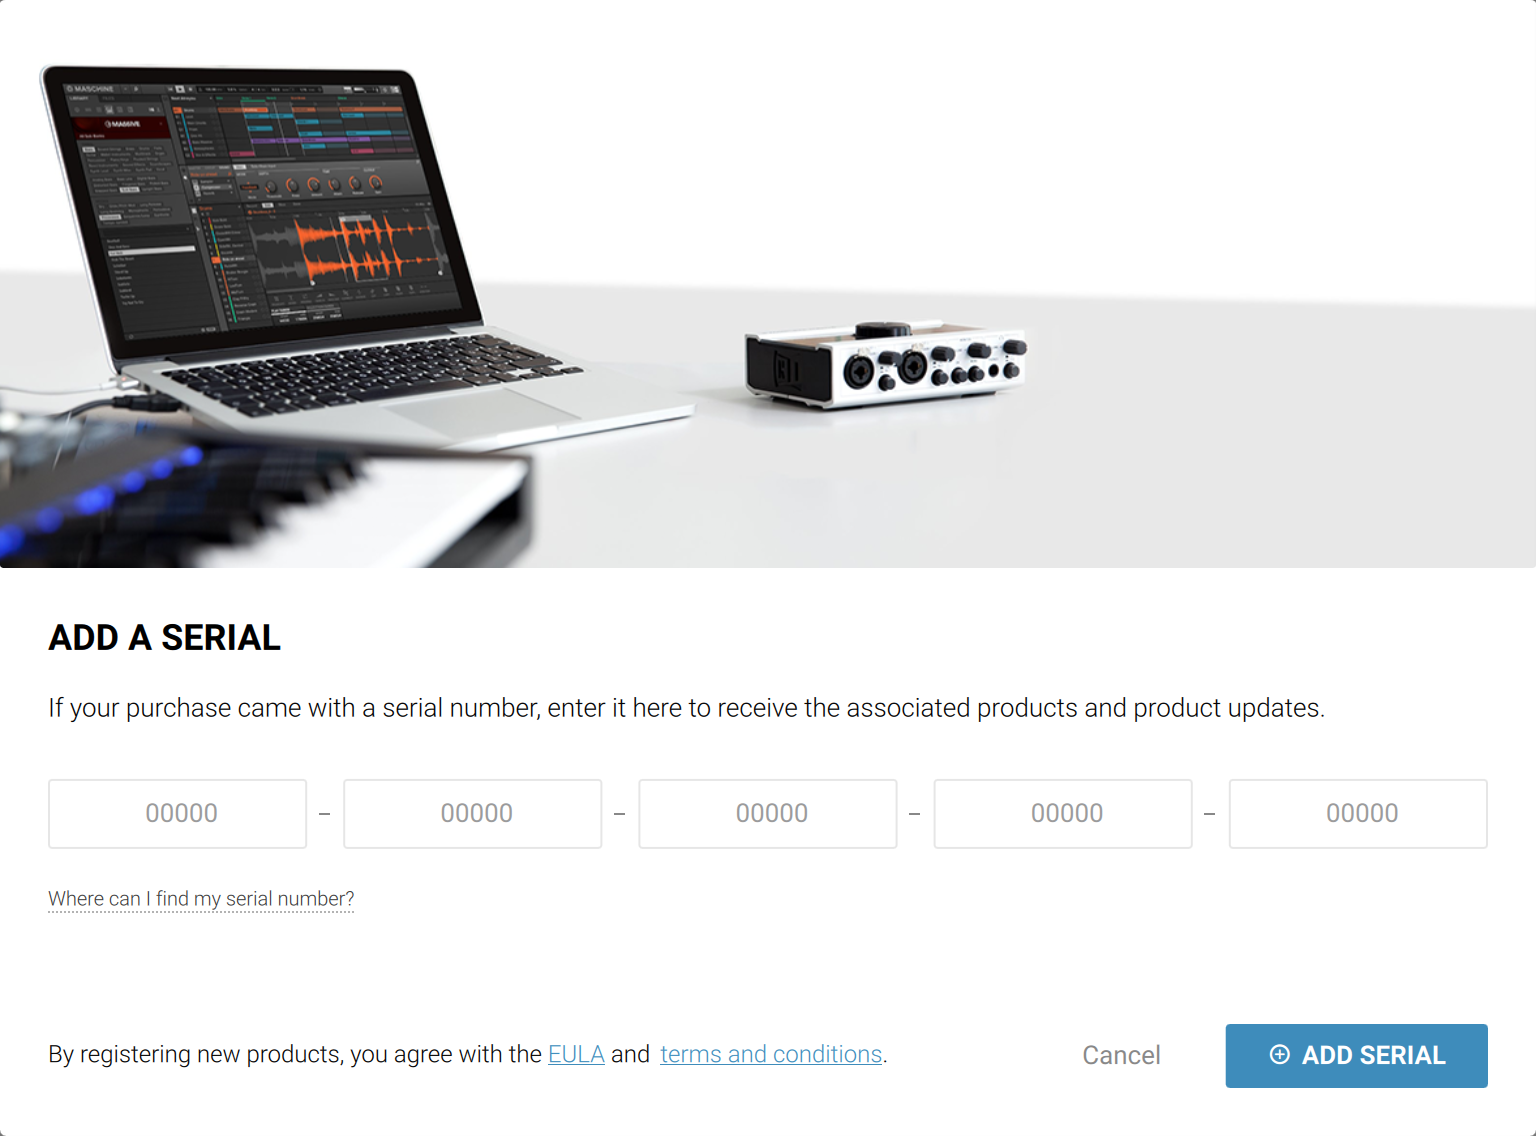
Click on the ‘ADD SERIAL‘ button located in the bottom right-hand corner to complete this step. *Remember that your software serial code was sent to you via email after purchasing or you can access the code via your Account.
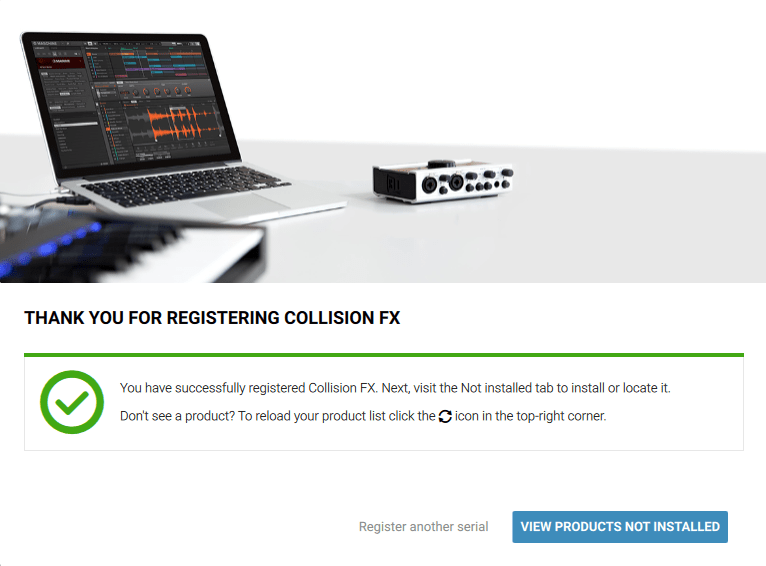
Now that you have successfully registered your serial code with your Native Access account let’s go ahead and find/click on the ‘VIEW PRODUCTS NOT INSTALLED’.
Lastly, locate your instrument (such as COLLISION FX ) You will be prompted to browse to the COLLISION FX folder. Simply click the “Browse” button on this page and navigate to the COLLISION FX folder that you have previously unpacked.
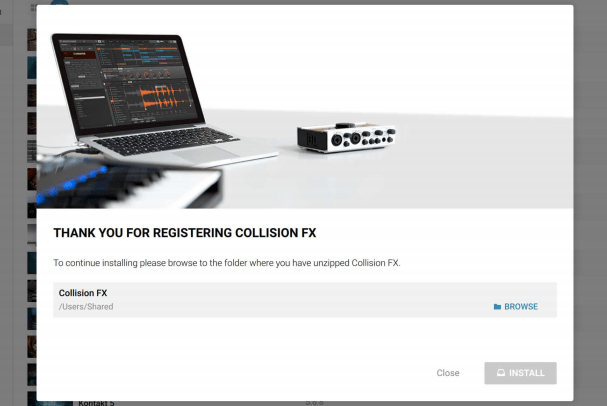
It is important that you select the “COLLISION FX” folder itself and not any of the subfolders. Now ‘Click‘ Open or Select Folder (if on PC). The installation process and will activate automatically after completion.

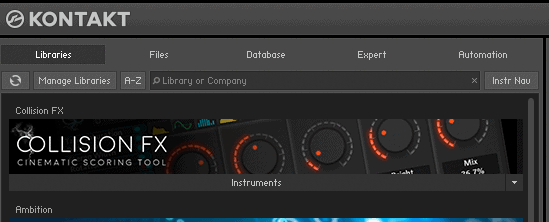
Once you have followed these steps, Your Sound Yeti product should now be installed correctly in KONTAKT’s “Libraries” tab. To make sure it appears as a pane in the libraries tab, you may need to refresh the tab in KONTAKT by clicking the refresh icon to the left of the “Manage Libraries” button.
Always remember to “Batch Re-Save” your instruments after installing for lightning fast load times. Check out our guide HERE for instructions on how to do this.
Need Further Assistance?
If you have any issues during this process please open a support ticket at the bottom of this page. We will be glad to assist you further.